Key Takeaways For The Best Rotations on Storm Point
- The North-Eastern part of the map is often the most lucrative part of the map
- Traversing the map is rather easy because of the gravity cannons, so use them!
- Still, having a Pathfinder, a Valkyrie, or even an Octane on the team can really help with rotations
- Time is of the essence, don’t get bogged down at a single place or else you’ll quickly fall behind
What the best rotations on Storm Point end up being is ultimately down to the RNG of the game. But, there are a few spots that are obviously better than the rest, and, they’re well-connected to the rest of the map.
Ease of traversal is one of the biggest things you should consider before dropping at a certain spot. A spot that’s well connected to the rest of the map, even if it has bad loot; would ultimately be less of a bother than a spot that’s isolated. Thankfully, the design of Storm Point is *cough* on point; so, regardless of where you drop, you’ll probably be able to move on to the next area with ease.
Looking for teammates to rotate through Storm Point with? Check out the LFG feature on the Z League app. Because, after all, who likes playing alone?
Table of Contents
Storm Point Map Layout
Before we can discuss the best routes, here’s a quick rundown of the map layout.
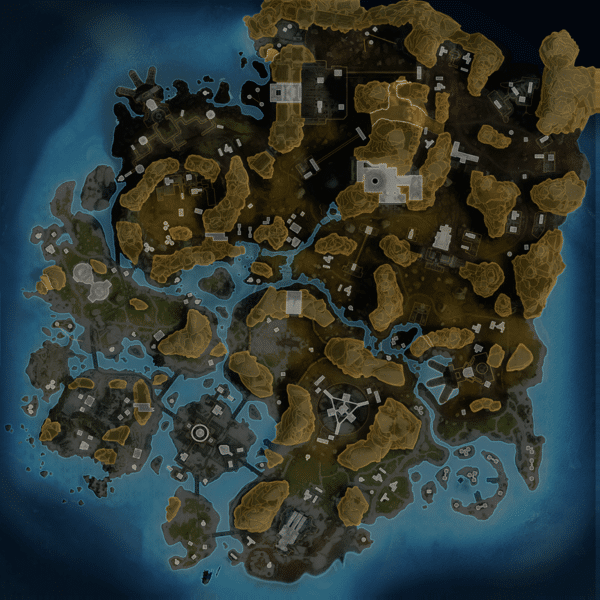
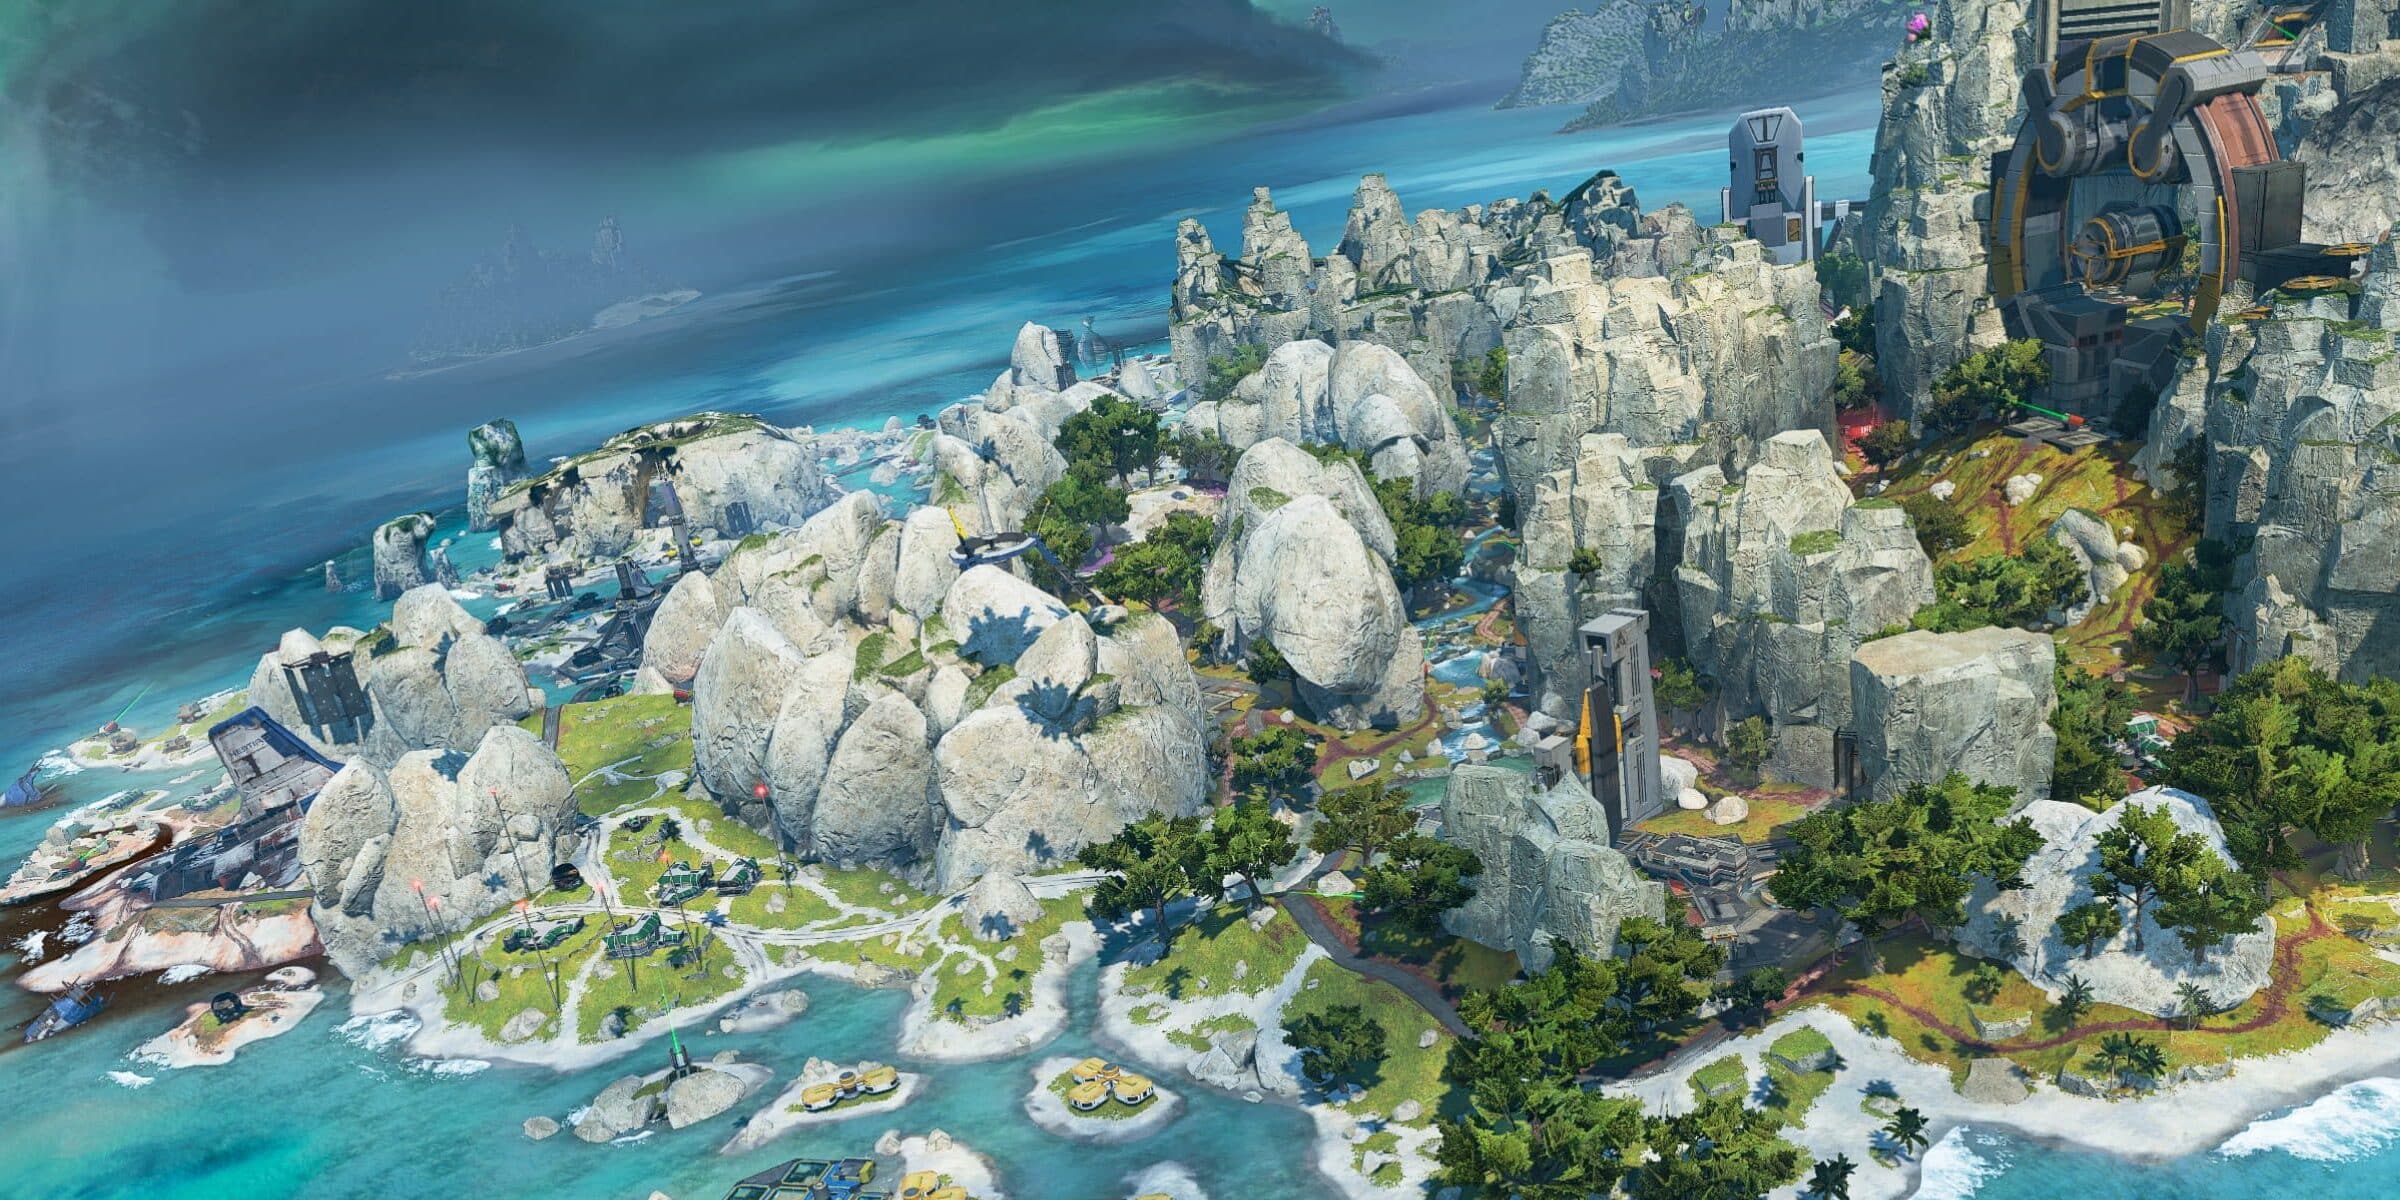
In the north, you have the North Pad, The Wall, Highpoint, Lighting Rod, and Thunder Watch. In the middle of the map, you have The Mill, Checkpoint, Cascade Falls, Command Center, and Storm Catcher. While in the south, you have the Cenote Cave, Barometer, Antenna, Ship Fall, Launch Pad, Gale Station, and Fish Farms. Now here is a few rotation routes that you can take.
Rotations in the North on Storm Point
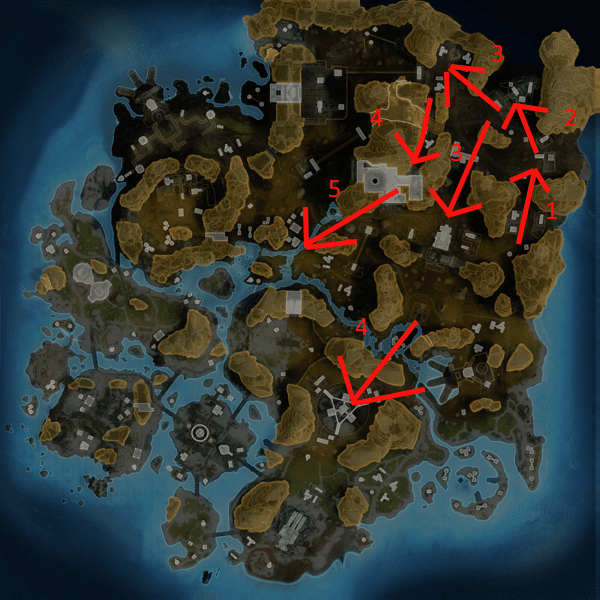
Depending on where the airship spawns at the beginning, you might be able to drop directly at Lighting Rod; if you are unable to, there’s a gravity cannon to the right of Storm Catcher that you can use to get to Lighting Rod faster. After Lightning Rod, the road is basically open to you. You can go two ways from there, one is to Highpoint then down into the Command Center and into Cascade Falls. The other is from Lighting Rod through Thunder Watch and into Storm Catcher; after Storm Catcher, proceed onto Antenna. Where you’ll be able to go largely depends on where the ring closes, so keep an eye on that always. Octane is surprisingly helpful at completing this run, as there is a lot of verticality to the map in this area.
Rotations in the South of Storm Point
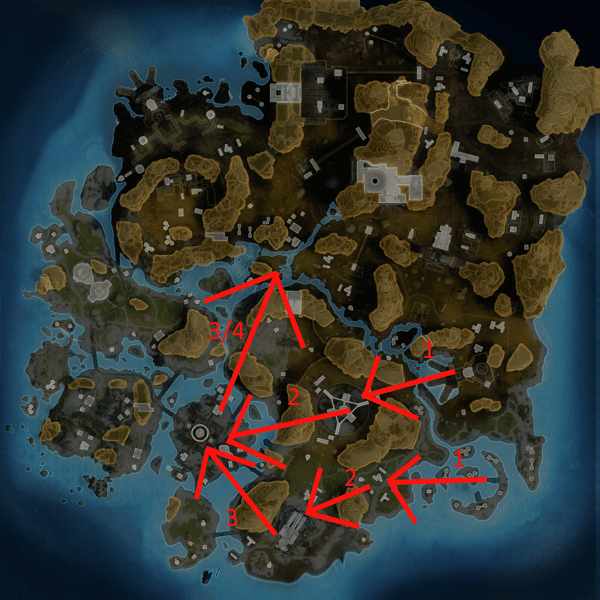
Here you have two potential routes that you can take. The first one requires you to drop at Fish Farms, and go through Gale Station to the Ship Fall. After that, go to the Barometer and proceed towards Cascade Falls. The alternative route requires you to drop at the Launch Pad, after which you proceed to the Antenna and then into the Barometer. After that simply go to Cascade Falls. Again, the deciding factor, if you can do this full run or not, is the ring (and enemy teams of course); remember to stay flexible and industrious. Have a Valkyrie in your team, it will help tremendously to be able to jump over the high hills in the area. The sooner you finish the run, the better.
Rotations in the West of Storm Point
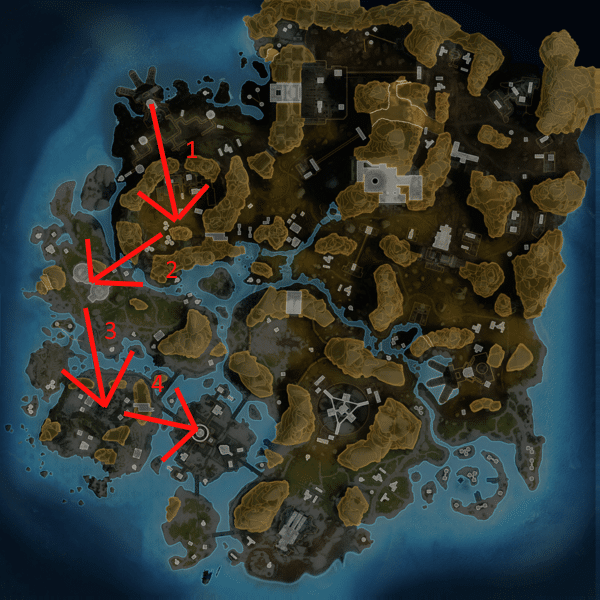
If you drop in the western part of Storm Point there’s really only one viable rotation that is almost always lucrative. Start by dropping at the North Pad, from there head on towards the Checkpoint. After that, go to The Mill and after you’ve cleared it, head on into the Cenote Cave. Strip it dry then finish at the Barometer. A Pathfinder in the squad is really helpful for this route, as there’s a fair amount of distance to cover with this approach. Speed really is of the essence with this route, so you really can’t meander around for a long time in each area.
