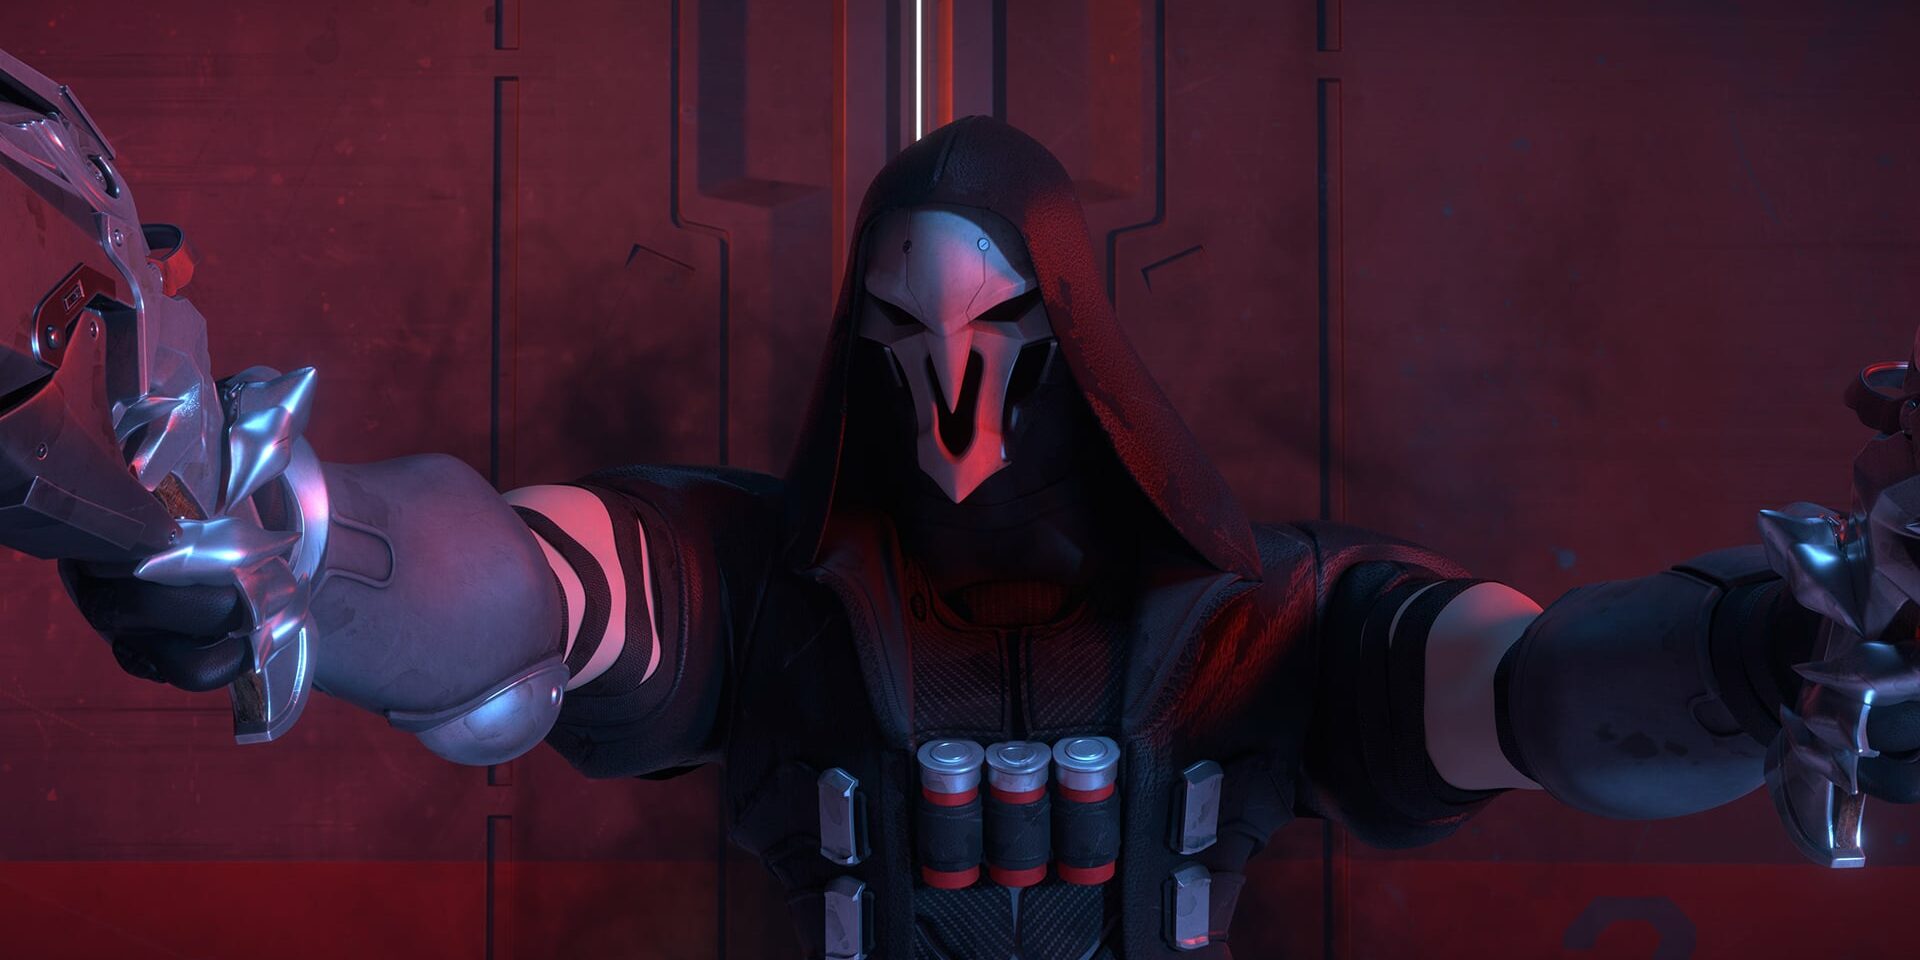
Reaper Key Takeaways
- Reaper is best on enclosed maps with short sightlines. These maps allow him to get maximum value from his primary fire, the main damage ability in his kit.
- Reaper is worst on maps with long sightlines that allow enemies to shoot him from range. He simply must get close to enemies to be effective, and his kit doesn’t allow him to sneakily cross the map.
- Reaper counters other short-range heroes, such as Winston, due to his superior damage output.
- Reaper is countered by long-range heroes and any hero that can disrupt the flow of his kit, such as Mei, who can wall off Reaper and prevent him from escaping back into his teammates.
Table of Contents
Reaper Quick Tips
- Reaper has 250 total health, making him one of the tankiest damage (DPS) heroes in the game. He also self-heals for 35% of damage he inflicts, which makes him tough to kill while in combat.
- Despite his high total health pool and regenerative passive ability, he has a large hitbox, meaning he’s much easier to hit than heroes like Sojourn or Sombra.
- Reaper generally operates on his own, and interacts less with his team than other heroes do. Use the Z League app to find competent Overwatch teammates who can hold down the frontline while you put pressure on the backline.
Reaper Abilities Explained
Img via Blizzard Entertainment
Hellfire Shotguns (Primary Fire)
Reaper’s primary fire can deal up to 108 damage per shot, but only when he’s very close to an enemy. The weapon has an unforgiving fall off range of just 10-20 meters. Beyond 20 meters, Hellfire Shotguns inflict no damage.
Reaper’s primary weapon is straightforward and easy to use, requiring very little game sense apart from knowing when to reload. Even then, the reload animation is only 1.5 seconds, making it fairly forgiving.
Despite its simplicity, Reaper’s primary fire can be difficult to aim in situations where enemies are very close to Reaper and moving quickly horizontally. These situations are also the most important for Reaper, as hitting shots at this range allows him to get the most value from his primary fire.
Wraith Form
With Wraith Form activated, Reaper becomes invincible and can move around the map at a slightly higher rate of speed. The ability allows him to escape abilities like Zarya’s Graviton Surge, and can be canceled on command. Reaper also reloads his Hellfire Shotguns whenever he goes into Wrath Form.
Wraith Form is essential to Reaper’s kit. Its primary use is to allow Reaper to escape from danger after getting into the enemy backline. However, due to its automatic reload function, it can also be used when engaged in a duel with an enemy player to replenish ammo quickly and secure the kill.
Shadow Step
Shadow Step allows players to pick a spot on the map and teleport to that location. The range is 35 meters, and the entire animation takes about two seconds to complete. Enemy players can shoot and damage Reaper while the animation for Shadow Step is ongoing.
Shadow Step is a powerful ability that allows Reaper to quickly reposition around the map. However, due to its long casting time and how vulnerable it leaves Reaper, it can’t usually be used during combat. Reaper players who want to use Shadow Step safely should look to use it around corners.
Death Blossom (Ultimate)
Death Blossom is a simple and straightforward ultimate that deals 170 damage per second to any target within its eight meter radius. The ult is powerful and can quickly secure kills on one or multiple squishy targets. Thanks to Reaper’s self-healing passive, he’s hard to kill when Death Blossom is active and damaging one or multiple enemy players.
Death Blossom is easily shut down by crowd control (CC) abilities like Reinhardt’s Charge. Before using Death Blossom, Reaper players should look to catch enemies in compromising positions and/or with abilities on cooldown. In general, damaging more players with Death Blossom is better, but telegraphing your ultimate by moving in with Wraith Form will result in the enemy team using focus fire to potentially shut you down.
Recommended Overwatch 2 Streamers
- Emongg – Associated with the San Francisco Shock and can be seen playing every Monday through Saturday starting around 9 AM ET.
- Warn – Has hit rank 1 on the ladder for Ashe and continues to provide entertainment nearly every day from 6 pm – 2 am ET.


